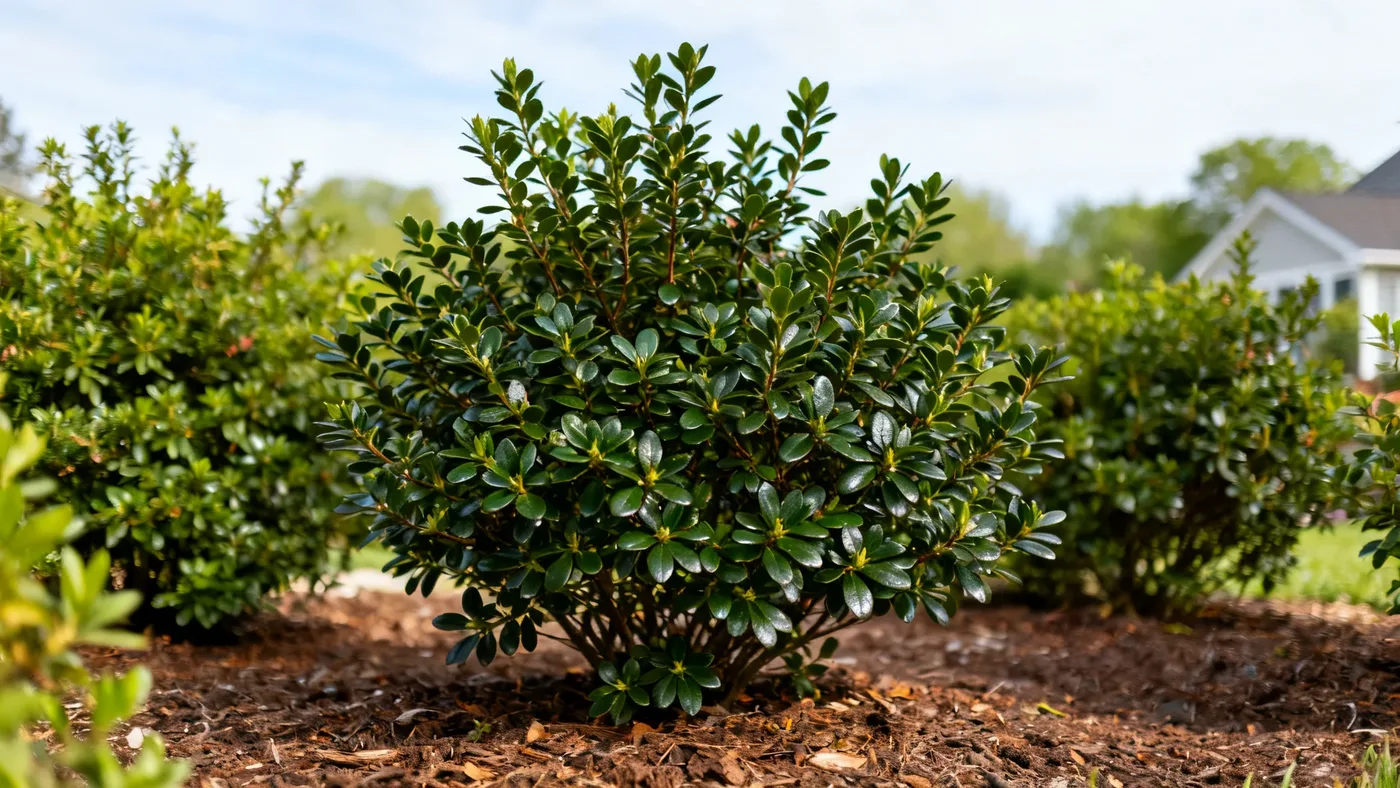
Best Soil for George L. Taber Azalea: pH and Drainage
Getting the soil right is the foundation for a healthy, blooming George L. Taber Azalea. This evergreen shrub doesn't just tolerate acidic, well-draining soil, it demands it. Plant it in heavy clay or waterlogged ground and you'll likely watch it decline within a season, no matter how much you water or prune. The good news is that preparing suitable soil isn't complicated, and the results are reliably strong blooms and dense foliage year after year.
Understanding Soil pH for George L. Taber Azalea
George L. Taber Azalea thrives in acidic soil with a pH between 4.5 and 6.0. If your soil sits above 6.5, the plant's roots can't access iron and other nutrients it needs, and yellowing foliage, stunted growth, and poor blooming follow quickly. This isn't a preference, it's a requirement tied to how this plant's shallow, fine root system evolved to extract nutrients from the acidic forest soils of its parent species.
Start by testing your soil before amending. A soil test kit from any garden center or your local extension service will tell you your current pH and, importantly, what's already in your soil. Don't assume. Soil pH varies dramatically across a property, especially if you've added fill or if your land slopes toward limestone runoff.
If your test shows pH above 6.0, you'll need to lower it using sulfur or an acidifying fertilizer formulated for azaleas and rhododendrons. If your soil is already acidic, you're starting with an advantage, though you may still need to adjust drainage and add organic matter.
Why Drainage Matters for This Azalea Variety
Drainage is the second pillar of soil success for George L. Taber Azalea. This shrub has shallow roots and low drought tolerance once established. What that means in practice: the soil must hold consistent moisture without staying waterlogged. The roots cannot sit in standing water, even briefly. They also dry out quickly if the soil is coarse or compacted.
Well-drained soil is not the same as dry soil. It means water moves through the root zone at a steady rate, never pooling. Heavy clay soils, common in many regions, compact and retain water too long. Sandy soils drain too fast, drying the roots before they can absorb water. The answer is a balanced mix: humus-rich soil (organic matter) that holds moisture while allowing water to move through freely.
If water sits on your soil surface longer than 30 minutes after a rain or watering, drainage is your immediate concern. If the soil cracks open in summer heat, it's too dry. Both extremes stress the plant and invite root rot, the most common reason George L. Taber Azaleas fail.
Materials You'll Need
Before you begin soil amendment, gather these materials. Quantities depend on your planting area and existing soil condition.
- Peat moss or coconut coir (for water retention and acidity)
- Composted pine bark or aged wood chips (for organic matter and drainage)
- Sulfur or iron sulfate (if soil pH test shows pH above 6.0)
- Acid-forming, azalea/camellia-type fertilizer (optional, for initial feeding)
- Soil pH test kit or meter
- Spade or garden fork
- Rake
- Measuring tape or depth gauge
- Mulch (aged hardwood or pine straw, 2-3 inches deep)
Step-by-Step Soil Preparation
Step 1: Test Your Soil
Buy a soil pH test kit or send a sample to your local extension office. Test the area where you plan to plant. Write down the pH, existing organic matter percentage, and any nutrient deficiencies the test reveals. This removes guesswork.
Step 2: Determine Your Drainage Pattern
Dig a hole 12 inches deep in the planting area. Fill it with water and wait. If water drains away within 30 minutes, drainage is acceptable. If it sits longer than an hour, you have a drainage problem that must be addressed before planting. Standing water is a deal-breaker for this azalea.
Step 3: Loosen and Amend the Native Soil
Using a spade or garden fork, dig up the top 12 to 18 inches of soil in your planting area. Break up compacted clay with the fork. Remove any rocks, roots, or debris. Spread the loosened soil back into the hole.
Step 4: Mix in Acidic Organic Matter
Layer amendments into the loosened soil. For a typical planting bed 3 feet across and 18 inches deep, use roughly equal parts (by volume) native soil, peat moss or coir, and composted pine bark. Work these together thoroughly with the spade, mixing from bottom to top several times until the texture is even. The goal is a crumbly, humus-rich mixture that holds your hand's imprint when squeezed but still allows water to percolate through.
Step 5: Adjust pH if Needed
If your soil test showed pH above 6.0, add elemental sulfur at the rate recommended on the product label (typically 1 to 2 pounds per 100 square feet). Mix it thoroughly into the amended soil. Allow 4 to 6 weeks for sulfur to take effect before planting, or plant after incorporating and retest pH in early spring.
Step 6: Create a Planting Mound
Build the amended soil into a slight mound, 2 to 4 inches higher than surrounding grade. This improves drainage and prevents water from pooling around the base of the shrub. The mound should be gently sloped to shed water away from the trunk.
Step 7: Plant Your Azalea
Set the root ball so the top of the root mass is level with or slightly above the amended soil surface. Do not plant deep. The shallow roots of George L. Taber Azalea will suffocate if buried. Backfill with the amended soil mixture, gently firming it around the root ball. Water thoroughly.
Step 8: Apply Mulch
Spread 2 to 3 inches of mulch (aged hardwood or pine straw) over the soil surface, keeping it 3 to 4 inches away from the base of the shrub. Mulch moderates soil temperature, conserves moisture, and gradually breaks down to add more organic matter. Pine straw is ideal because it's naturally acidic and mimics the plant's native forest environment.
Tips for Success
Test your soil pH every second or third year if you live in an area with naturally alkaline water or rainfall. Even well-amended soil drifts toward neutral over time as organic matter breaks down.
In regions with clay-heavy subsoil, consider raised beds or container growing. If you're committed to in-ground planting, the drainage test (Step 2) is non-negotiable. Poor drainage is the most common cause of failure and is rarely recoverable once the plant is in the ground.
When watering, aim for consistent moisture without waterlogging. The shallow roots dry out quickly, especially in summer heat, so check the top 2 inches of soil frequently during the growing season. Morning watering is better than evening, as it allows foliage to dry and reduces disease risk.
Light feeding in early spring with an acid-forming, azalea/camellia-type fertilizer supports bloom production. Avoid heavy nitrogen, which promotes foliage at the expense of flowers.
Common Mistakes to Avoid
Planting too deep. The biggest error. George L. Taber Azalea's roots are shallow. Burying the root ball suffocates the plant. The top of the root ball should sit at or slightly above grade.
Skipping the drainage test. Planting in poorly drained soil is nearly irreversible. If water sits more than 30 minutes after heavy rain, solve the drainage problem first or choose a different planting location.
Using the wrong soil amendments. Not all compost and mulch are suitable. Fresh pine bark can be too acidic and tie up nitrogen. Use composted or aged bark. Avoid municipal compost that may contain weed seeds or residual herbicides.
Neglecting pH testing. Assuming your soil is acidic can lead to years of poor performance. Testing takes one afternoon and costs little. It's the best investment you can make before planting.
Overdoing mulch. More than 3 inches of mulch can trap moisture and encourage root rot. Mulch piled against the trunk creates a disease haven. Maintain a 3 to 4-inch clearance around the base.
Watering inconsistently. This azalea needs consistent moisture, not a feast-famine pattern. Dry soil followed by heavy watering stresses the roots and can trigger disease.
Expected Results
A George L. Taber Azalea planted in properly prepared, acidic, well-drained soil may bloom within its first year from a container-grown plant, though light blooming is more typical. By year two, you should see robust flowering in mid to late spring with light orchid-pink blooms featuring a darker reddish-purple blotch on the upper petal. Foliage should be dark green and glossy, with no yellowing or spotting. Growth will be moderate, roughly 6 to 12 inches per year once established, and the plant will reach its mature size of 6 to 10 feet within 10 to 15 years.
If you've tested soil, amended for drainage, and adjusted pH, poor results are unlikely. The plant responds quickly to suitable conditions.
For more on overall care, see the complete care guide for George L. Taber Azalea.
Quick Reference: Soil Preparation Checklist
| Task | Target or Timing | Why It Matters |
|---|---|---|
| Test soil pH | 4.5-6.0 (acidic) | Plant cannot access nutrients in alkaline soil; yellowing and poor blooms result |
| Test drainage | Water drains within 30 minutes | Poor drainage causes root rot, the most common cause of plant failure |
| Loosen native soil | 12-18 inches deep | Breaks compaction and allows roots to penetrate |
| Add peat moss/coir | Equal volume to native soil | Increases water retention and acidity |
| Add composted pine bark | Equal volume to native soil | Improves drainage and adds organic matter |
| Apply sulfur (if pH above 6.0) | Per product label; 4-6 weeks before planting | Lowers pH to optimal range |
| Plant azalea | Top of root ball at or above grade | Prevents root suffocation; ensures proper drainage around base |
| Apply mulch | 2-3 inches; 3-4 inches from trunk | Moderates moisture and temperature; adds organic matter as it breaks down |
| Water consistently | Moist (not waterlogged) through growing season | Shallow roots dry quickly; inconsistent moisture invites stress and disease |
| Retest pH | Every 2-3 years | Soil naturally drifts toward neutral; adjustments maintain optimal conditions |