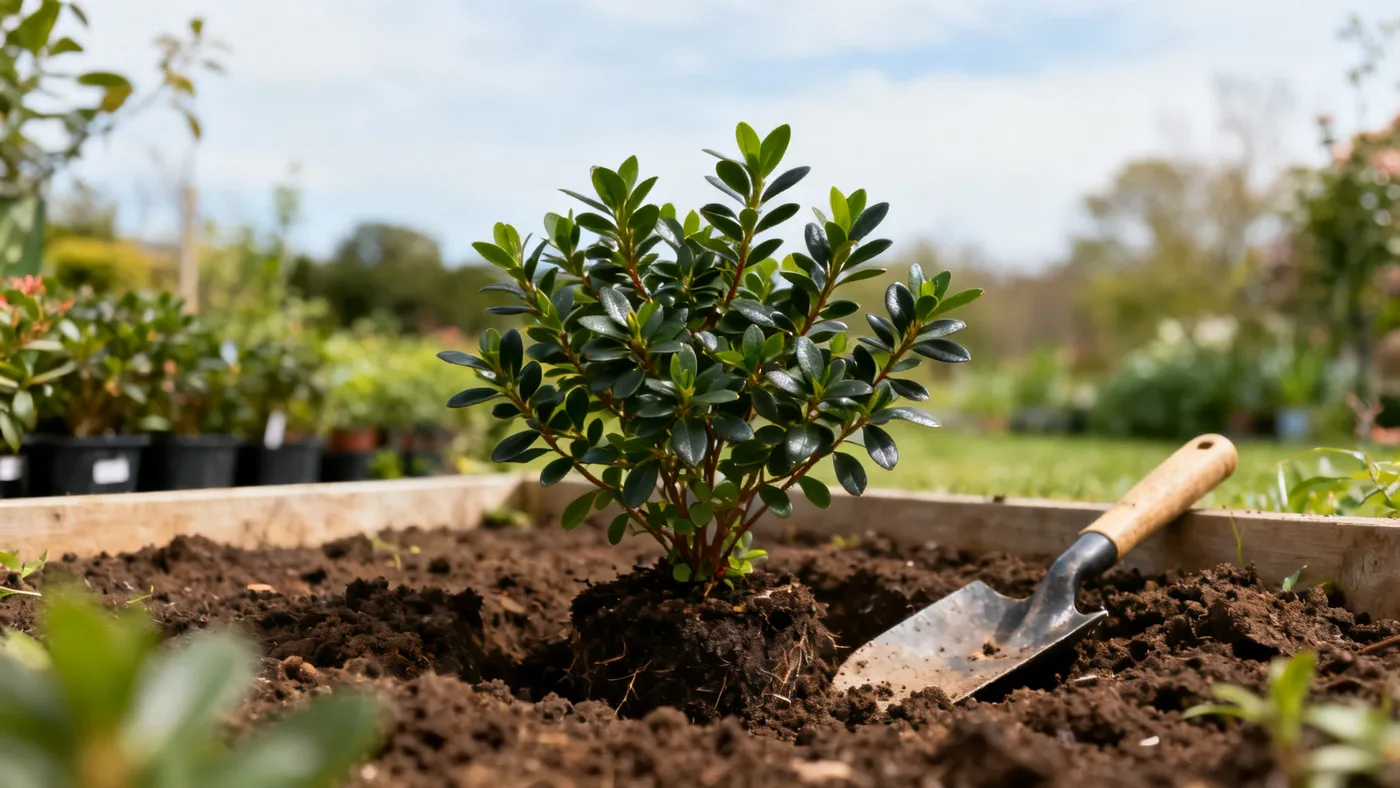
How to Plant a George L. Taber Azalea the Right Way
Planting a George L. Taber Azalea correctly sets the foundation for years of reliable orchid-pink blooms. Whether you're adding it to a foundation bed or massing several along a property line, the timing, location, and soil preparation determine success from day one. This guide walks through each step, from site selection through your first spring bloom.
What You'll Need
Before you start, gather these materials to ensure the job goes smoothly without interruption:
- Container-grown George L. Taber Azalea (typically sold in quart, #1, or #3 containers from a nursery)
- Well-drained, acidic soil or garden soil amendment (targeting pH 4.5-6.0)
- Peat moss or composted pine bark (2 to 3 cubic feet for a single planting)
- Hand shovel or spade
- Measuring tape
- Mulch, preferably shredded pine bark or aged hardwood (2 to 3 inches for application)
- Watering can or garden hose
- Soil test kit (optional but valuable for checking pH)
If your soil is naturally acidic, you may need less amendment. If it's neutral or alkaline, the amendments become essential.
Choosing the Right Planting Location
Location matters more than most gardeners realize. A George L. Taber Azalea thrives in part shade to filtered sun. The ideal setup is morning sun with afternoon shade, especially important in zones 9 and 10 where summer heat peaks early and intensely. Full shade reduces blooms significantly. Full, unprotected sun dries out the shallow root system quickly, particularly when afternoon temperatures exceed 85 degrees Fahrenheit.
Soil drainage is equally critical. These azaleas must have well-drained, humus-rich, acidic soil. They perform poorly in heavy clay or poorly drained sites where water pools after rain. If your yard stays wet, consider a raised bed or container planting instead. Test your soil pH if possible. Ideally, aim for 4.5-6.0 on the pH scale. Soil above pH 6.0 causes yellowing leaves as the plant cannot access essential nutrients.
For spacing, plant 4 to 6 feet apart when creating a hedge or mass planting. Use wider spacing, 6 to 8 feet or more, if you want them as individual specimen shrubs. This cultivar reaches 6 to 10 feet tall and wide at maturity, so plan ahead.
Timing: When to Plant Azaleas
Plant George L. Taber Azaleas in fall or early spring, avoiding the heat of summer. This is the golden rule for successful establishment. In the Deep South, where this cultivar is most reliable and widely planted in zones 8 and 9, fall planting from September through November lets roots establish before the growing season accelerates. Early spring planting from February through March works equally well, provided you commit to consistent watering through the first summer. Never plant during active bloom or in the heat of June through August when transplant shock is severe.
Zone 10 gardeners should lean toward fall planting to allow the root system to mature before intense summer heat arrives. Zone 7 growers should prioritize early spring so the plant has maximum time to harden off and prepare for winter cold. The difference between successful establishment and disappointing decline often comes down to planting within this narrow window.
Step-by-Step Planting Instructions
Follow these steps for correct planting depth and soil preparation. Precision here prevents costly mistakes later.
- Prepare the planting area. Clear grass, weeds, and debris from a circle 3 to 4 feet in diameter. Use your shovel to break up compacted soil, working to a depth of 8 to 10 inches. This loosens the soil so roots can penetrate easily and allows amended soil to integrate with the surrounding earth.
- Amend the soil. This step separates healthy azaleas from struggling ones. Mix peat moss or composted bark into the native soil at a ratio of 1 part amendment to 2 or 3 parts existing soil. If your native soil is heavy clay, use more amendment. This creates the acidic, humus-rich environment the azalea requires. If a soil test shows pH above 6.0, incorporate sulfur to lower it, following product directions for your specific soil type and target pH.
- Dig the planting hole. Make the hole slightly wider than the root ball (typically the diameter of the container, usually 8 to 14 inches) but no deeper than the root ball itself. A critical mistake is digging too deep. The azalea's roots are shallow and extremely sensitive to waterlogging. Deep planting is the fastest path to root rot and plant decline.
- Check the planting depth. Before placing the azalea in the hole, set the container inside to verify the top of the root ball sits at or slightly above ground level. The root flare, where the main roots meet the stem, must be visible just below the soil surface, never buried underground. This prevents crown rot and allows the stem to breathe.
- Remove the azalea from its container. Gently tip the plant on its side and slide it out of the pot. If the roots are tightly wrapped in a dense spiral, gently loosen them with your fingers to encourage outward growth. Do not aggressively rip apart the root ball, as this damages fine root hairs.
- Place the azalea in the hole. Set the root ball in the center and backfill halfway with amended soil. Water lightly to settle the soil and eliminate air pockets. Finish backfilling to ground level, pressing gently as you go so the azalea sits firmly without being compacted.
- Water thoroughly. After planting, water deeply to saturate the soil around the root ball. Consistent moisture is essential during the first growing season. These azaleas have moderate water needs with shallow roots that dry out quickly in sun or wind. Water to a depth of 6 to 8 inches.
- Apply mulch. Spread 2 to 3 inches of shredded pine bark or aged hardwood mulch around the base. Keep it 2 inches away from the stem to prevent rot and pest problems. Mulch regulates soil temperature, retains moisture, and maintains acidity as it breaks down over time.
Common Planting Mistakes to Avoid
Planting too deep. This is the single biggest error. If the root ball is buried below ground level, roots suffocate and rot develops within weeks. Plant at or just above grade every time. The root flare should be visible.
Using the wrong soil. Alkaline or heavy clay soil will cause the azalea to yellow and decline within a season. Take time to amend the soil properly before planting. It is far easier to get it right upfront than to fix a struggling plant later.
Poor drainage. Never plant in a low spot where water pools after rain. Azaleas will not tolerate waterlogged soil regardless of how acidic it is. Wet feet kill azaleas faster than almost anything else.
Wrong location. Full sun in hot zones or deep shade everywhere results in sparse blooms and stressed plants. Morning sun with afternoon shade is the reliable middle ground that works across zones.
Skipping mulch. Mulch is not decorative only. It protects the shallow roots, keeps soil consistently moist, and maintains the acidic pH the azalea needs. Without it, soil temperature swings and moisture fluctuations stress the plant.
Inconsistent watering. During the first growing season, keep the soil evenly moist but not soggy. Letting it dry between waterings stresses the plant. Overwatering causes root rot. Find the balance by checking soil moisture 2 to 3 inches down with your finger.
What to Expect After Planting
A container-grown George L. Taber Azalea typically blooms within 1 to 2 years of planting from a nursery plant. In the South, mid to late spring (March through April in the Deep South, extending into May further north in zones 7 and 8) brings the distinctive light orchid-pink flowers with darker reddish-purple blotches on the upper petals. First-year blooms may be lighter and fewer in number than in subsequent years as the plant dedicates energy to root establishment.
Growth is moderate, roughly 6 to 12 inches per year once established. The plant reaches 6 to 10 feet tall and wide at maturity, which typically takes 10 to 15 years. The evergreen foliage remains dark green and glossy year-round. In cold winters at the northern end of the range, foliage may take on a slight bronze-purple tint but will not drop. This is normal and not a sign of stress.
Keep in mind that azaleas are toxic to pets and people if ingested, as they contain grayanotoxins. Position the planting away from areas where children or pets might chew the foliage or flowers.
For detailed care through the growing season, pruning timing, and how to manage common pests and diseases, see the complete care guide. That resource covers watering schedules, fertilizing, and long-term maintenance to maximize blooms year after year.
Quick Reference Checklist
| Task | Timing | Key Details |
|---|---|---|
| Choose location | Before planting | Part shade to filtered sun; morning sun + afternoon shade ideal (especially zones 9-10) |
| Test soil pH | Before planting | Target 4.5-6.0 (acidic); amend with sulfur if needed |
| Prepare soil | Before planting | Mix 1 part peat moss or composted bark with 2-3 parts native soil |
| Dig hole | Day of planting | Width: slightly wider than root ball. Depth: at or above grade, never deeper |
| Plant azalea | Fall or early spring | Root flare visible at soil surface; backfill with amended soil; press gently |
| Water immediately | Right after planting | Saturate soil to depth of 6-8 inches to settle amendments |
| Apply mulch | Right after planting | 2-3 inches shredded pine bark or aged hardwood; keep 2 inches from stem |
| Monitor moisture | First growing season | Keep soil consistently moist; shallow roots dry out quickly |
| Expected bloom | Mid-late spring (1-2 years after planting) | Light orchid-pink with reddish-purple upper petal blotch; moderate growth 6-12 in/year |
| Mature size | 10-15 years | 6-10 feet tall and wide; most reliable in zones 8-9 |
| USDA zones | Reference | Zones 7-10 hardiness range; most reliable and widely planted in zones 8-9 |
| Spacing | Planning stage | 4-6 feet apart for hedge or mass planting; wider for specimen use |