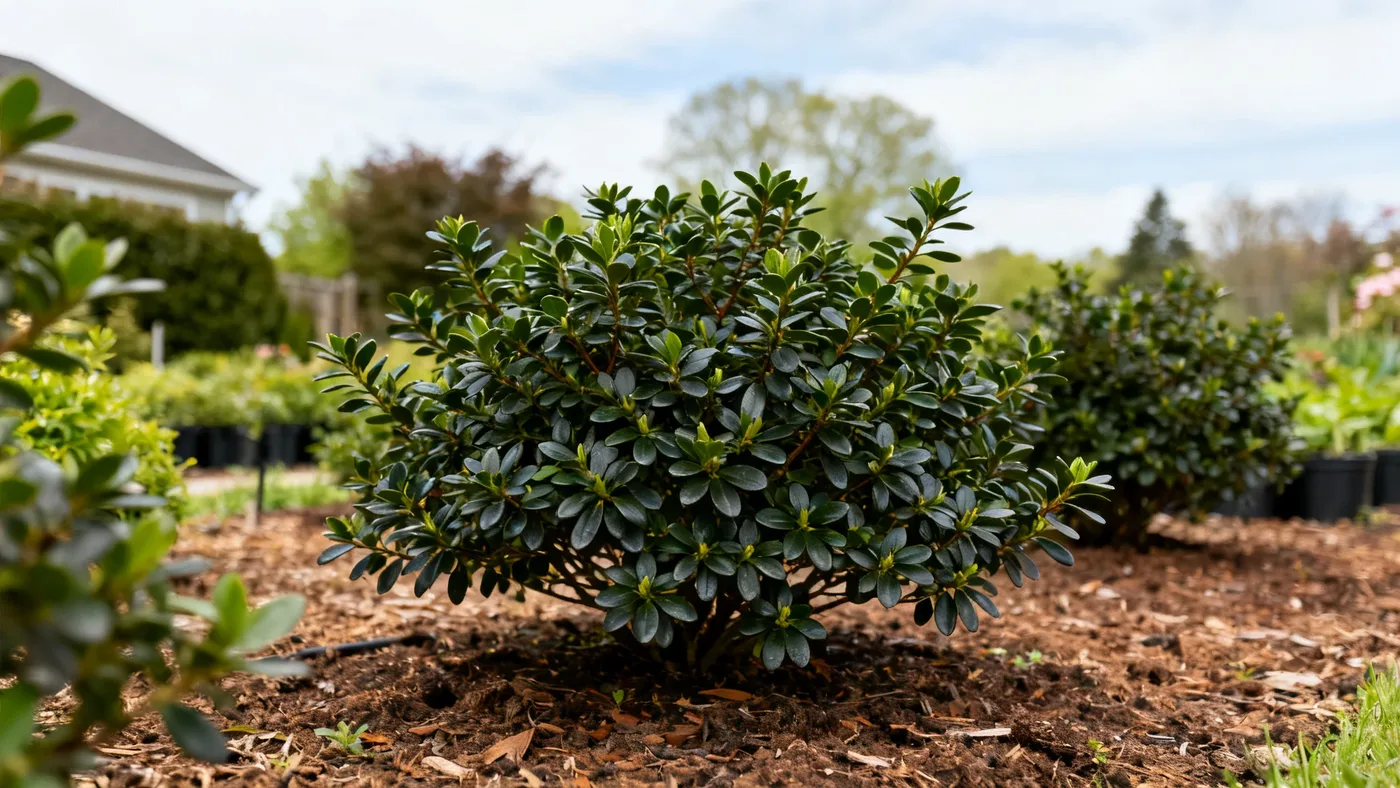
How to Propagate George L. Taber Azalea from Cuttings
George L. Taber Azalea responds reliably to propagation from semi-hardwood stem cuttings taken during summer. This method gives you new plants that are genetically identical to the parent shrub and can bloom within 1 to 2 years. Unlike attempting to grow them from seed, which produces unpredictable results, cuttings preserve the exact orchid-pink color and magenta blotch that makes this cultivar distinctive.
Why Propagate from Cuttings
George L. Taber Azalea is a cultivar, meaning it was bred rather than occurring in nature. Saving seed and planting it will not produce plants that look like your mother plant. Cuttings, by contrast, clone the parent exactly.
Propagation from cuttings is also faster than starting from bare-root plants. A rooted cutting can establish itself quickly in the garden and begin blooming within a few seasons. If you have a mature, healthy George L. Taber in your landscape, harvesting a few cuttings costs nothing and gives you plants to fill in gaps, create a hedge, or share with other gardeners.
Best Time to Take Cuttings
Timing is critical. George L. Taber blooms in mid to late spring, depending on your zone. In the Deep South (zones 8 to 9), flowers appear in March and April. Farther north in zone 7, bloom extends into late April or early May. Once flowers fade, prune immediately. Within weeks of that pruning, the plant begins setting buds for next year's blooms on the new growth.
Cuttings should be harvested in summer, roughly 4 to 8 weeks after your local bloom ends. This timing captures semi-hardwood growth: stems that are mature enough to snap cleanly but still flexible and actively growing. Early June through late July is ideal for most zones. If you live in zone 10, start in May. Avoid late summer or fall harvesting, as growth slows and cuttings are less likely to root.
Materials You'll Need
- Sharp pruning shears or a clean knife: Dull blades crush tissue and invite rot. Wipe the blade with rubbing alcohol or a 10% bleach solution before cutting to prevent disease transfer.
- Rooting hormone powder: Look for products formulated for woody plants, typically containing 1,000 to 3,000 ppm indolebutyric acid (IBA). This accelerates root formation and improves success rates.
- Propagation medium: A mixture of equal parts peat moss and perlite, or pure perlite, or a commercial seed-starting mix works well. Avoid garden soil or heavy potting mixes, which hold too much moisture and cause rot. The medium must drain freely.
- Containers with drainage holes: Small pots (2 to 3 inches), cell trays, or a propagation flat are all suitable. Ensure drainage holes are clear.
- Clear plastic dome, bag, or wrap: This maintains humidity around the cuttings while they root. A clear storage container, a zip-top bag, or plastic wrap over a frame all work.
- Misting bottle or spray bottle: Regular misting keeps the medium moist and leaves humid without waterlogging roots.
- Grow light or bright, indirect light: Cuttings need bright conditions but not hot, direct sun. A south or west-facing window in a shaded location, or a grow light placed 6 to 8 inches above the cuttings, is ideal.
- Heat mat (optional): Bottom heat of 70 to 75 degrees Fahrenheit speeds rooting, but is not essential if your home stays warm in summer.
Step-by-Step Propagation Process
- Select healthy stems. Choose new growth from the current season. Look for stems that are vigorous, pest-free, and dark green. Avoid thin, weak growth or stems bearing flowers or flower buds.
- Cut 4 to 6 inch sections. Using sharp, sterilized shears, cut stems at a 45-degree angle just below a leaf node (the point where leaves emerge). The angled cut increases surface area for rooting and sheds water.
- Remove lower leaves. Strip away the bottom two-thirds of leaves from each cutting, leaving only 3 to 4 leaves at the tip. Leaves below the soil line trap moisture and rot. The remaining leaves help the cutting photosynthesize and survive.
- Prepare the cutting base. If desired, make a small vertical slit (about 1/4 inch deep and 1/2 inch long) on two sides of the base where it will go into the medium. This wound increases rooting hormone uptake, though it is not strictly necessary.
- Apply rooting hormone. Dip the bottom 1 to 1.5 inches of each cutting into rooting hormone powder, shaking off excess. The powder clings to the moist cut surface and travels into the tissues, signaling the plant to form roots.
- Fill containers with moist medium. Moisten your propagation medium beforehand so it is damp but not waterlogged. Fill containers to the rim and firm gently.
- Insert cuttings into medium. Make a hole with a pencil or dibber, then insert the cutting so the lower 1 to 2 inches are buried. The bottom leaves should not touch the medium. Space cuttings so their leaves do not touch. Firm the medium gently around each cutting.
- Water thoroughly. Water until water drains from the bottom. This settles the medium around the cutting and ensures good contact with the stem base where roots will form.
- Create a humid environment. Cover the container with a clear plastic dome or bag, or wrap it loosely in clear plastic. This reduces water loss from leaves and keeps humidity high while roots are developing. Poke 2 to 3 small air holes in the covering to allow slight air exchange and prevent fungal issues.
- Provide appropriate light and temperature. Place the container in bright, indirect light (not full sun, which will cook cuttings under plastic). Keep the ambient temperature between 65 and 75 degrees Fahrenheit if possible. Bottom heat of 70 to 75 degrees speeds rooting significantly.
Caring for Your Cuttings
After insertion, daily care is light but consistent. Mist the leaves and the edge of the medium lightly once or twice daily, keeping everything humid without creating standing water. Check the medium daily and water only if the surface begins to dry. The goal is consistently moist, not soggy.
Check for fungal issues weekly. If you see powdery growth or soft rot on stems, lift the plastic cover, increase air circulation, and water less frequently. Remove any dead or rotting cuttings immediately to prevent disease spread.
Avoid the urge to disturb cuttings to check for roots. Gentle tugging can damage developing roots and set back progress. The first sign of rooting is usually slight firmness when you gently tug a cutting (resist pulling hard), or new leaf growth appearing at the tip.
Common Mistakes to Avoid
Timing too late in the season: Cuttings taken in September or October often fail because the parent plant is hardening off for winter and growth has slowed. Stick to early to mid-summer.
Using old, woody growth: Softwood is too tender and wilts; old wood is difficult to root. Semi-hardwood, harvested at the right season, is the sweet spot.
Overwatering or poor drainage: The number one killer of cuttings. Use a well-draining medium, water only when needed, and ensure containers drain freely. Roots form in air pockets, not soggy conditions.
Neglecting the rooting hormone: While some cuttings root without it, hormone powder significantly improves success rates and speed, especially for woody plants like azaleas. Use it.
Planting cuttings too deep or too shallow: Bury only the bottom 1 to 1.5 inches. Buried leaves rot. Shallow insertion may not establish good contact between cut stem and medium.
Excessive light or heat: Cuttings under plastic in direct sun will cook. Bright, indirect light is sufficient and safer. Temperatures above 75 degrees Fahrenheit can stress tissues.
Timeline and What to Expect
Root formation typically begins in 4 to 6 weeks under ideal conditions (warm temperatures, consistent moisture, bright light). Some cuttings may take 8 to 10 weeks, especially if conditions are cooler. Once you see vigorous new growth at the tips or feel definite resistance when tugging gently, roots are established.
Once rooted cuttings show new growth, gradually remove the plastic cover over a week or two. First, poke larger air holes. Then, lift the cover for a few hours daily, increasing the duration each day. This acclimates cuttings to lower humidity. After a week or two uncovered, they can be moved to grow under lights or in bright indirect light without the cover.
Rooted cuttings can stay in their propagation containers for 2 to 3 months if kept moist and fed lightly. When roots are 1/2 to 1 inch long and filling the container, pot them into 3 to 4 inch containers filled with slightly richer medium: equal parts peat moss, perlite, and aged bark or compost. Acidic soil is essential for azaleas; aim for a soil pH of 4.5 to 6.0.
A rooted cutting grown in a 3 or 4 inch container indoors can be moved outdoors after the last frost and can bloom within 1 to 2 years if given proper care. Expect slower growth the first year as the plant establishes, then roughly 6 to 12 inches of growth annually once established.
For complete care guidance once your propagated plants are established outdoors, see our George L. Taber Azalea care guide.
Quick Reference: Propagation Checklist
| Task | Timing / Details |
|---|---|
| Harvest cuttings | Summer (4-8 weeks after spring bloom ends); early June to late July in most zones |
| Cutting length | 4-6 inches, harvested at 45-degree angle below a leaf node |
| Remove lower leaves | Strip bottom 2/3 of foliage; keep 3-4 leaves at tip |
| Apply rooting hormone | Dip bottom 1-1.5 inches in IBA powder; shake off excess |
| Medium | Equal parts peat moss and perlite, or pure perlite; must drain freely |
| Insertion depth | 1-1.5 inches into medium; do not bury leaves |
| Humidity cover | Clear plastic dome, bag, or wrap with 2-3 small air holes |
| Light | Bright, indirect light; avoid hot direct sun |
| Temperature | 65-75°F ambient; 70-75°F bottom heat speeds rooting |
| Watering | Moist medium, never waterlogged; mist leaves daily |
| Root formation | 4-10 weeks; vigorous new growth at tip signals success |
| Remove cover | Gradually over 1-2 weeks once new growth appears |
| Pot into larger container | Once roots fill the propagation container (2-3 months); use acidic medium |
| First bloom | 1-2 years from rooted cutting in ideal conditions |