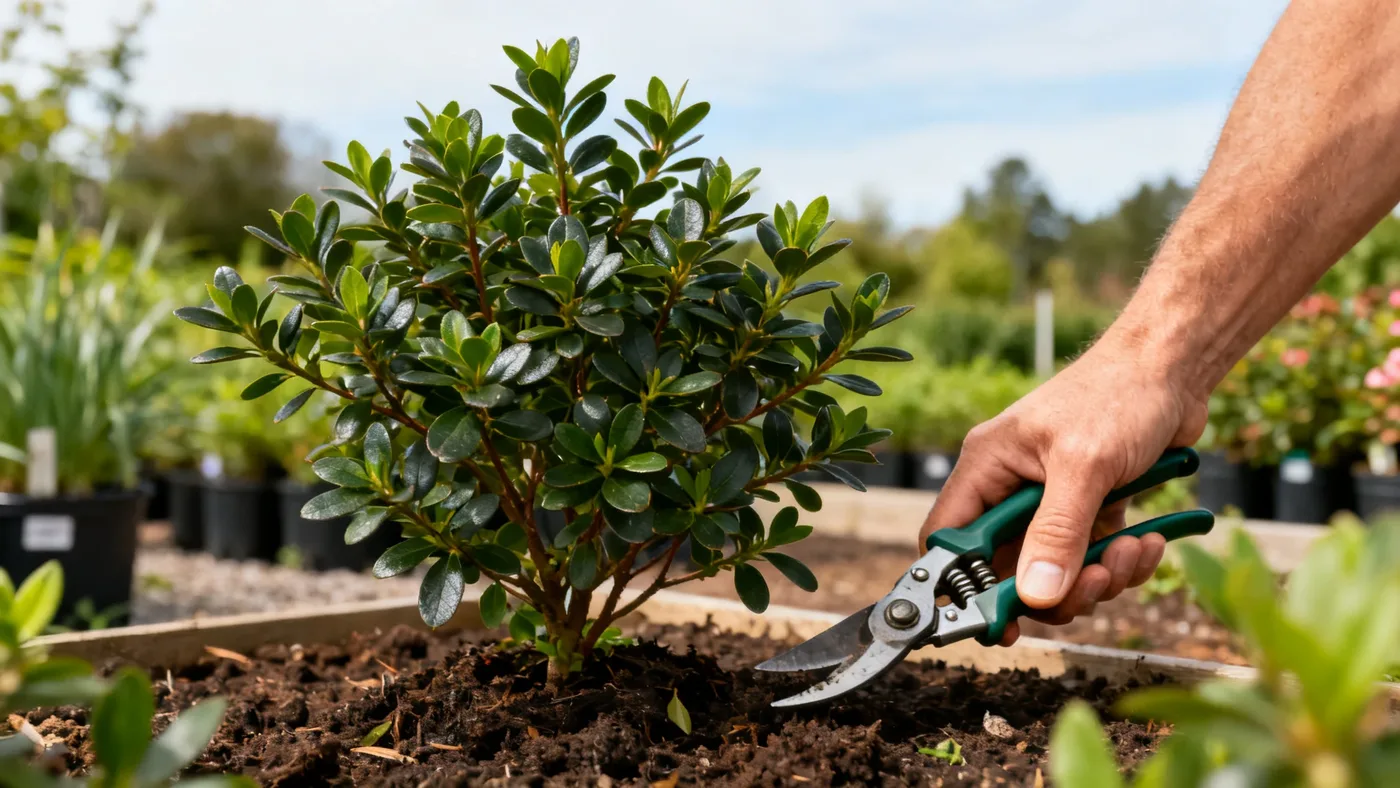
How and When to Prune a George L. Taber Azalea
George L. Taber Azaleas need far less pruning than many shrubs, but getting the timing right makes all the difference between abundant spring blooms and a sparse-flowered plant. These evergreen shrubs typically grow 6 to 10 feet tall and wide, and with just a few minutes of work at the right moment each year, you can keep them full, healthy, and flowering reliably. The key is understanding when this plant sets next year's flower buds and cutting at exactly the right window.
Why Timing Is Everything for Azalea Pruning
George L. Taber Azaleas bloom on old wood, meaning the flower buds are already formed on the branches before spring arrives. Unlike many shrubs that flower on new growth, pruning this azalea at the wrong time will remove next year's blooms.
The critical window opens immediately after the flowers fade. In the Deep South, that means late April to early May. Further north in zones 7 and 8, extend that window into late May. Once you see the last petals drop, you have roughly 4 to 6 weeks to prune before next year's flower buds harden off on the branch tips. Wait until mid-summer or later, and you risk cutting into developing buds, resulting in few or no blooms the following spring.
This is the single most common reason home gardeners end up with disappointing azalea flowering. A George L. Taber pruned in July or August will look fine all year, then produce barely any flowers come spring. That's not because the plant is failing; it's because you removed the buds before they could open.
Tools and Materials You'll Need
- Bypass hand pruners (not anvil style). Bypass shears cut cleanly; anvil pruners crush stems and leave dead wood that invites disease.
- Loppers for branches thicker than 3/4 inch diameter.
- Pruning saw for thick, woody branches or dense interior wood.
- Pruning sealer or wound dressing (optional for large cuts, though azaleas heal well without it).
- Work gloves to protect your hands from small branches and potential scratches.
- Bucket or trash bag for gathered clippings.
Keep your shears sharp. Dull blades tear bark and leave ragged wounds. A clean cut heals faster and reduces the risk of disease entry.
Step-by-Step Pruning Instructions
Step 1: Assess Your Plant's Shape and Growth
Stand back about 6 to 8 feet and look at your azalea's overall form. Is it compact and balanced, or does it have long, leggy branches sticking out? Are there any crossing branches, dead wood, or branches rubbing against one another? This quick visual scan tells you how much work the plant actually needs. George L. Taber Azaleas typically need light shaping rather than heavy cutting.
Step 2: Remove Dead, Damaged, or Diseased Wood
Prune out any branches that look brown, brittle, or show signs of disease (dark cankers, oozing, unusual discoloration). Cut these branches back to healthy green wood, or remove them entirely at the base if they're beyond recovery. This cleanup also opens up the plant's interior to better air circulation, which helps prevent fungal issues like powdery mildew.
Step 3: Open Up Crossing or Rubbing Branches
Look for branches that cross over one another or rub against stems. Remove one of the two offending branches, preferring to keep the one with better structure or position. This reduces pest entry points and improves air flow through the canopy.
Step 4: Lightly Shape for Balance
If your azalea has grown unevenly or is becoming too tall for its space, make small cuts to shape it. The secret is restraint. Remove no more than 1/4 of the plant's total growth in one year. Make cuts just above a leaf node or side branch, angling the cut slightly away from the bud so water runs off cleanly.
Never shear azaleas like hedge plants. Shearing creates a dense outer shell of twigs with a hollow interior and leads to fewer blooms. Instead, cut individual branches at staggered lengths to preserve a natural, full appearance.
Step 5: Know When to Stop
Step back frequently as you work. It's easy to remove too much and end up with an overly thin plant. Light shaping is usually sufficient; aggressive pruning is rarely necessary for this cultivar. When in doubt, leave the branch alone.
Cutting Back an Overgrown George L. Taber Azalea
If you inherit an old, sprawling azalea that has outgrown its space, rejuvenation pruning is possible, but it requires patience and timing discipline.
Immediately after bloom, you can prune back up to one-third of the oldest, thickest canes to the base or to a side branch lower on the stem. Spread this rejuvenation over two or three years rather than doing it all at once. This approach sacrifices some flowers for a year or two but rebuilds a more compact, vigorous plant.
Do not cut your azalea to the ground in a single session. This shock pruning often fails, leaving you with a plant that doesn't recover well. Azaleas respond much better to gradual reduction of old wood.
Tips and Common Mistakes to Avoid
- Mistake: Late-summer or fall pruning. Pruning after June risks cutting flower buds. Reserve fall and winter pruning for removing only dead or diseased wood.
- Mistake: Shearing the plant into a ball. This removes branches at random points, leaving a dense outer shell and a hollow interior. The result looks unnatural and produces fewer flowers. Always cut to a branch node or bud.
- Mistake: Heavy fertilizing after pruning. Light feeding in early spring is ideal; avoid heavy nitrogen, which promotes leafy growth at the expense of blooms. Stick to an acid-forming azalea or camellia fertilizer formulated for this plant type.
- Tip: Prune on a cloudy day or in early morning. Freshly cut stems are tender. Cutting on a sunny afternoon can expose the plant to sun scald stress.
- Tip: Save your clippings. Small azalea stems root easily in moist, acidic soil if you want to propagate new plants from semi-hardwood cuttings taken during the growth season.
- Mistake: Ignoring diseased wood. Petal blight, leaf gall, and powdery mildew can affect George L. Taber Azaleas. Prune out affected branches promptly to prevent spread. Sterilize your shears between cuts by wiping the blade with rubbing alcohol or a 10% bleach solution.
Expected Results and Timeline
A well-timed pruning in spring should produce a fuller, more balanced plant by midsummer and a robust bloom display the following spring. You may notice new side shoots branching out from your cut points within 3 to 4 weeks. This branching thickens the plant and sets the stage for next year's flowers.
If you prune correctly and your azalea is healthy, you should not need to prune heavily every year. Many George L. Taber Azaleas thrive on minimal pruning once or twice per decade, with only light touch-ups annually to remove dead wood or shape stray branches.
A mature plant typically grows roughly 6 to 12 inches per year. Pruning slows growth temporarily but does not permanently dwarf the plant. For guidance on controlling size long-term, see our article on how big your George L. Taber Azalea will grow.
For comprehensive year-round care, including watering, fertilizing, and site selection, refer to our complete George L. Taber Azalea care guide.
Pruning Quick Reference
| Timing | Action | Why |
|---|---|---|
| Late April to late May (immediately after bloom fades) | Light shaping and deadwood removal | Flower buds are not yet set; safe window before next year's buds harden |
| June through early July | Only remove dead or diseased wood | Approaching the hardening-off period for flower buds |
| Mid-July onward through winter | Avoid pruning except for diseased branches | Flower buds are setting; heavy cuts will remove next spring's blooms |
| Task | Details |
|---|---|
| Clean your shears | Bypass pruners only; sharp blades; sterilize between cuts on diseased wood |
| Remove dead or diseased wood | Cut to healthy green tissue or to the base if entirely dead |
| Remove crossing or rubbing branches | Keep the branch with better structure |
| Lightly shape for balance | Remove no more than 1/4 of annual growth; cut above leaf nodes at 45-degree angles |
| Never shear into a ball | Cut individual branches to staggered lengths for natural fullness |
| Check your work frequently | Step back and assess before removing more |